There’s not much more exciting than a new baby! New babies need lots of things, including plenty of blankets. Blankets are also great for new moms to keep in the car or diaper bag – you never know when baby will need to be changed or take a nap! I found a great tutorial online from Sugglebug University on how to make a baby blanket with handles. I had a friend who had just had a baby so, with a few slight modifications from the original pattern, I decided to try my hand at sewing one myself.
Materials
· 1 yard of fabric for the front of the blanket and 1 yard of fabric for the back of the blanket (I used Magic Moon brand fabric from Joann Fabric)
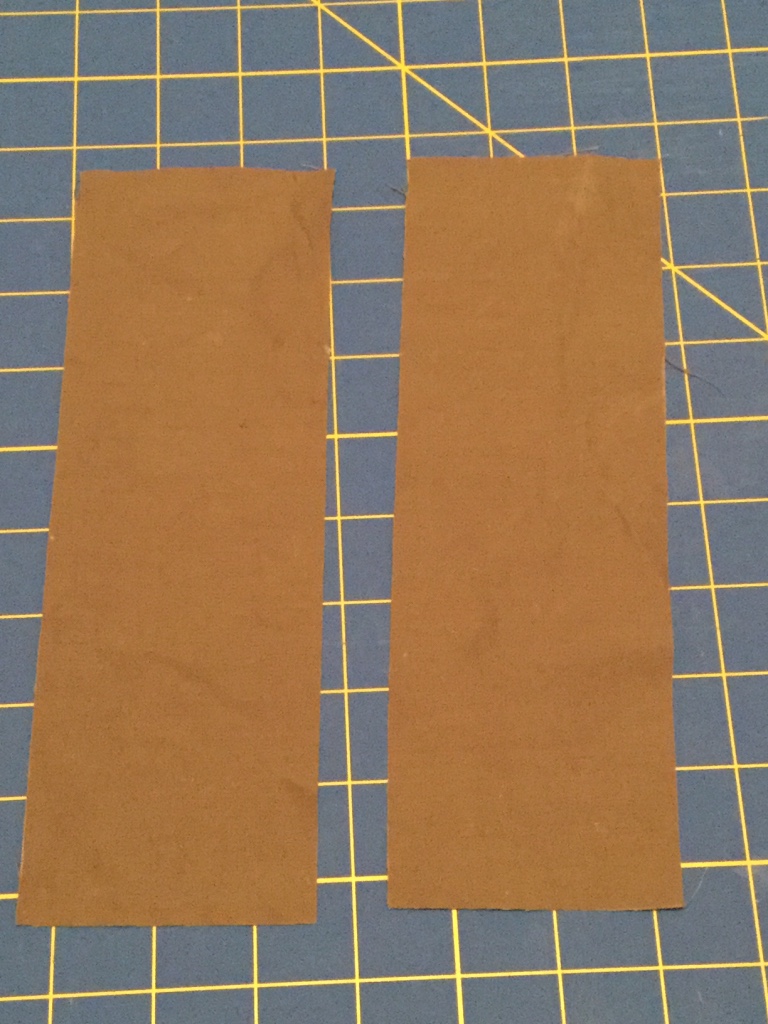
· (2) 3” x 9” pieces of fabric for the handles - you can purchase a coordinating fat quarter of fabric to use
· Batting for baby quilts
· Pins
· Thread that coordinates with your fabric
Directions
1. Cut out both fabrics and the batting into 28” x 39” rectangles.

2. Take one of your fabrics and place it right side up on top of the batting.
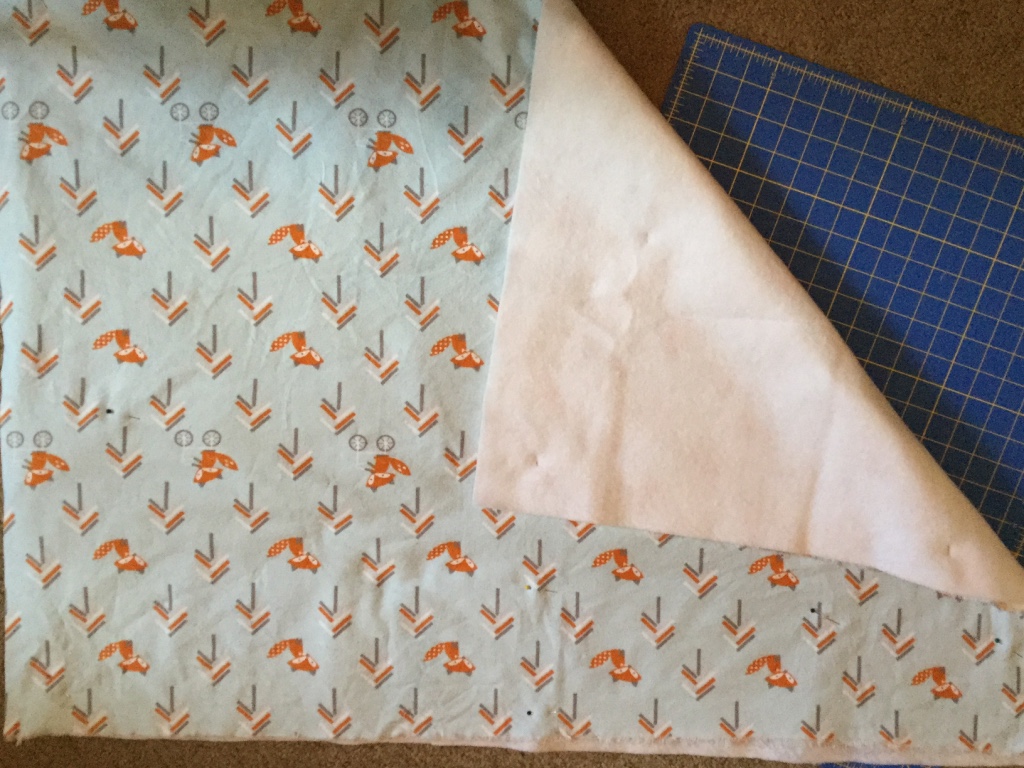
3. Then find the center of the fabric and mark it with a pin.
4. From that pin sew down the middle of the fabric from top to bottom of the long edge. This will secure your top layer and the batting together. Don’t forget to do a reverse stitch on either end to secure the stitches. This step is where my OttLite LED Cone Clip Lamp came in very handy. I keep it clipped next to my sewing machine and its flexible neck lets me position the bright LEDs just where I need it. Having an extra light for my sewing machine lets me see my machine's presser foot and needle so much better.
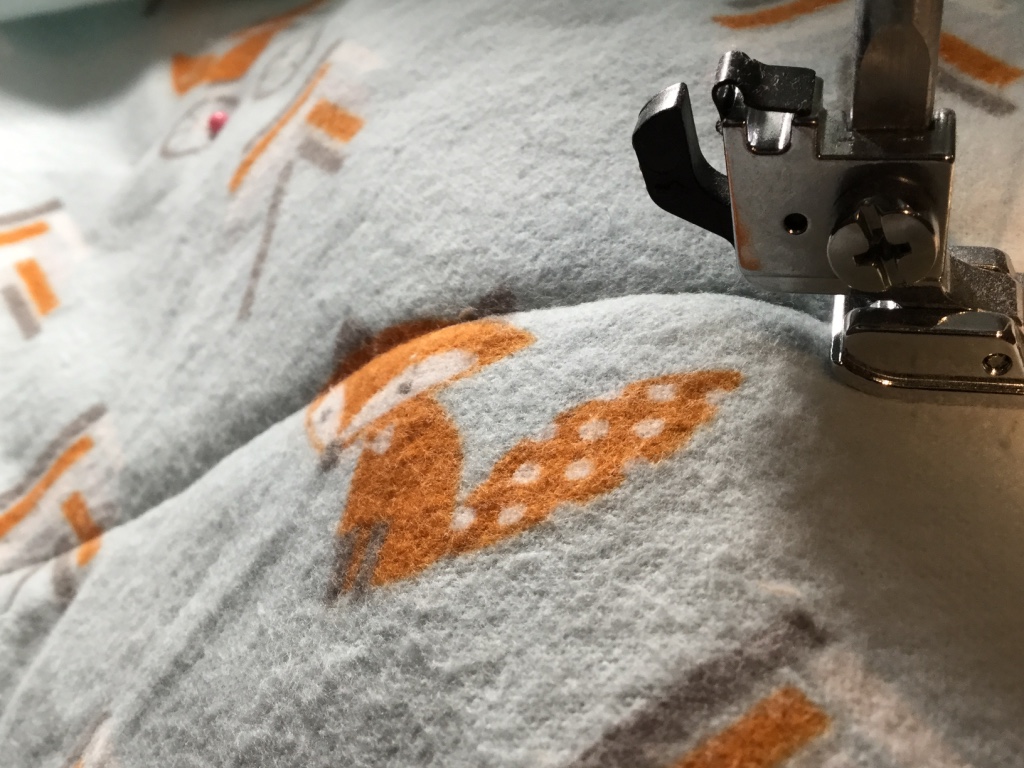
5. After the middle seam is sewn, in equal intervals go outwards on either side of the middle seam and sew new lines from top to bottom. You should get about 4 or 5 lines sewn down the front of the fabric when finished.
6. Next take your two 3” x 9” pieces of fabric. Fold the fabric together, right sides touching, along the length and use a ¼” seam allowance to sew the long edge of the folded fabric together, leaving the short ends open. Repeat with the second piece of fabric. Turn the tubes right side out and sew the open ends closed.
7. Position your handles like a U and pin in the middle of each of the short ends of the blanket. Sew into place.

8. Next take your bottom layer of fabric and place it face down on top of the first fabric, which should be face up. Be sure your handles are placed inside the fabric sandwich when you do this.
9. Sew around all the edges of the blanket, starting in the middle of one of the edges. Don’t start sewing at the corner (see pic below) – I mistakenly did this and had trouble a the end sewing the rest of the blanket. Be sure to leave an approximate 8” opening once you get near the end.

10. Using the 8" opening, turn the blanket right side out. Then fold the opening’s edges in and, keeping close to the edge, stitch all the way around the edge of the blanket.
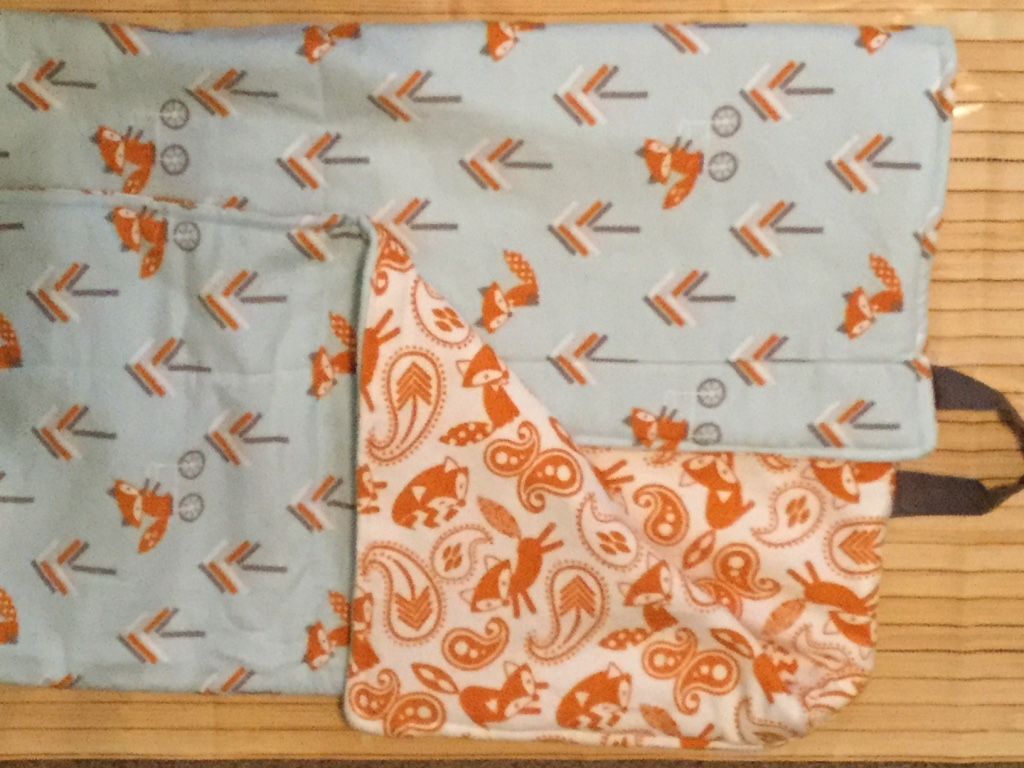
11. To fold - Lay the blanket out with handles on the top and bottom. Fold each side towards the middle and then fold in half from top to bottom so the handles meet.
You need to
login to comment.