I recently contacted Darby Smart after visiting their website to see if they’d be interested in partnering with OttLite for one of our monthly crafts. If you haven’t heard of Darby Smart, they’re a website that believes in the fun of crafting. With a bunch of crafting ideas, supplies and even a monthly crafting box mailed right to your home, Darby Smart is the perfect site for anyone who loves to craft.
Once Darby Smart kindly agreed to send me one of their crafts in a box, I picked the DIY Magnetic Terrariums craft. 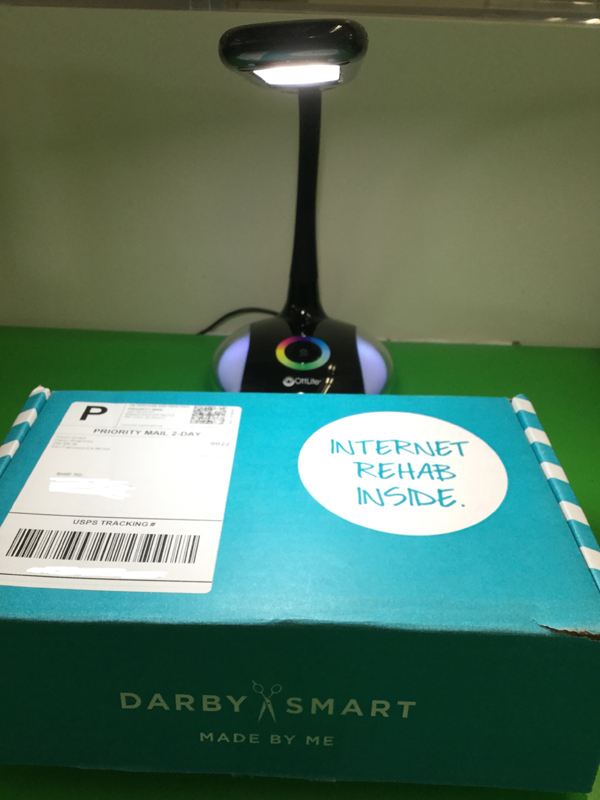 Air plants love the humidity of Florida (where OttLite’s headquarters are) so I thought it would be a good fit.
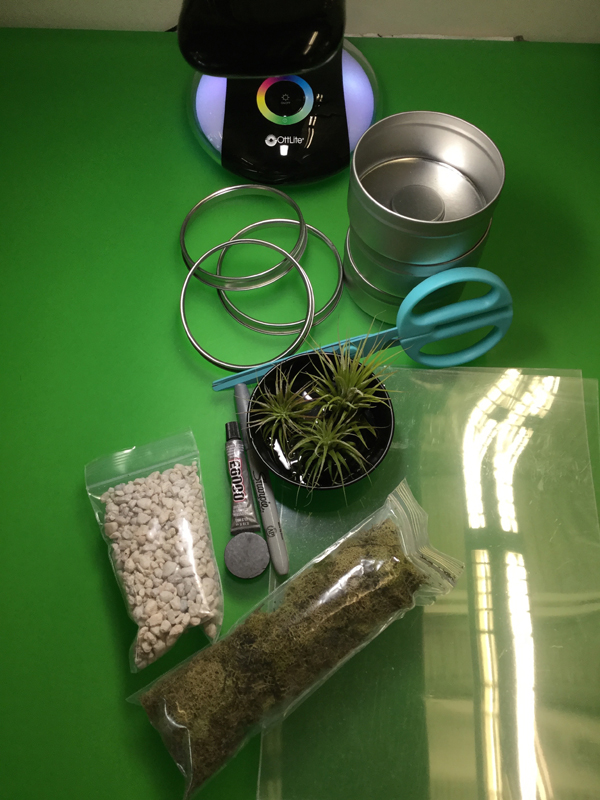
Two days after I talked to Darby Smart, my “Internet Rehab” Box arrived. Packed inside was everything that I would need to make three air plant terrariums. If you purchase all the items from Darby Smart to make three terrariums your total cost would be $49. However Darby Smart allows you to pick and choose exactly what supplies you’d need to order. So if, for instance, you had your own scissors, pen, and wanted to only make one terrarium it would only cost you $18. And Darby Smart always ships your items for free!
Before you get started, be sure that you have great lighting because the terrarium is mini sized. I used the OttLite Color Spectrum LED Desk Lamp with USB to help me see while I was assembling. Its 3 brightness settings from the task lamp came in very handy for this craft.
The first step in creating your DIY Terrarium is to trace and cut out the plastic that will fit in the lid. Lay the lid down on a sheet of the plastic that was included and,  using the outside of the top of the lid, trace all the way around. Repeat if you ordered more than one terrarium kit and then cut the circles out.
After you've cut your circles out, test them to make sure that they fit into the inside of the lids. You might have to trim them a little, like I did, to get them to fit snuggly without falling out. Once you get the fit right, cut the circle in half for a window. I didn't cut all of mine evenly in half on purpose to make them all different. Apply a little glue around the edges of the plastic and put them back inside the lids. You'll need to give them about 15-20 minutes to dry.
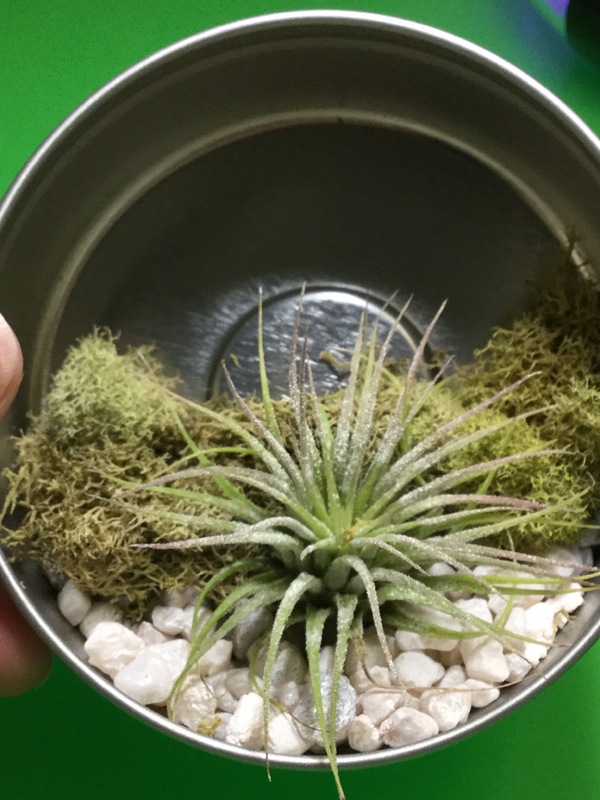
While the glue on your lids is drying, get your tins and start assembling your terrariums. Use as much moss and rocks as you'd like for each one to give it your own spin. And don't forget to water your air plants before you put them in. Yes they're air plants, but  they do need to be misted periodically to keep them alive. When I pulled mine out of the box I gave them a little water bath to perk them back up. You need to keep the terrarium water free per the instructions so make sure you dry the air plants off completely after their bath or after their mist later on.
Once you have all the rocks, moss, and air plants arranged in your tin, twist the lids on, place the magnet on the back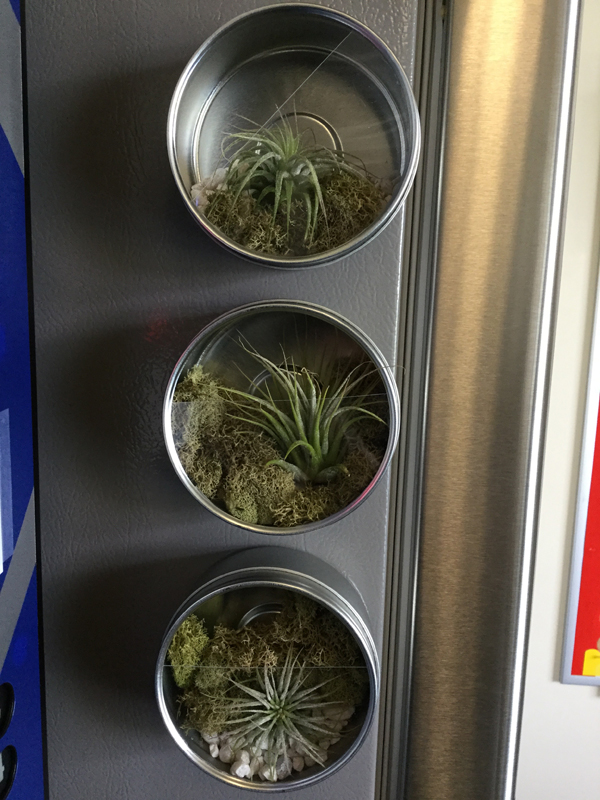 and place it on any magnetic surface! These DIY mini terrariums came out really cute and two of them found new homes at other desks in our office so I know they'd make a wonderful gift, either as a kit or already assembled!
You need to
login to comment.