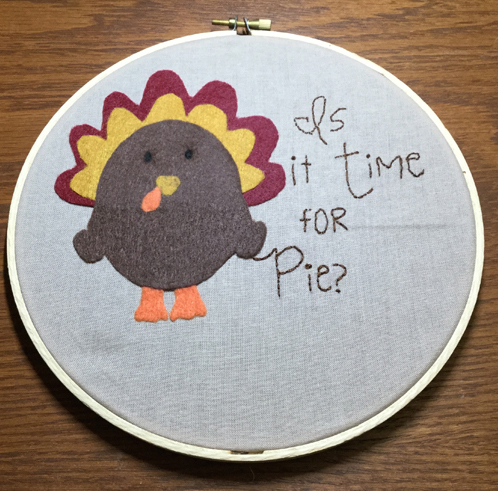
When we did our What Inspires interview for this month with Beverly McCullough, we spoke to her about her love of embroidery. Beverly generously offered to create a Thanksgiving embroidery pattern just for OttLite and we thought it would make a great craft! Beverly has made a corresponding pattern that she posted on her blog Flamingo Toes so be sure to check it out.
Materials
- 7” wood embroidery hoop
- 10” x 10” fabric for background
- Felt or fabric for the pieces of the turkey
- Embroidery floss for lettering (be sure it contrasts with the background fabric)
- Scissors
- Disappearing marking pen
- Fusible webbing
- Hot glue and glue gun
- Pattern for turkey appliqué
Optional:
- Ribbon or fabric for bow tie
- Small safety eyes or beads for turkey eyes
- Contrasting floss for outlining turkey
- 24” pom pom trim
Directions
Print out the first page of Beverly’s pattern. Place it under the background fabric and trace the 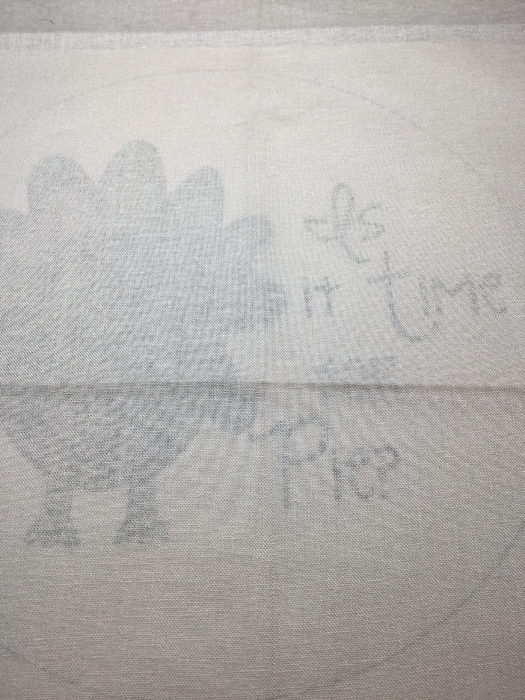 pattern onto the fabric with the disappearing marking pen. Use your OttLite lamp to help see the pattern better. I used a LED Cobra Desk Lamp to help me and it was great. A LED Light Box and Task Lamp Station would be the perfect OttLite for tracing the pattern.
Cut out your felt pieces slightly larger than the pattern pieces. Following the instructions on fusible webbing package, adhere it to the back of the felt/fabric for the turkey.
Cut out the turkey pieces and iron them onto the fabric. 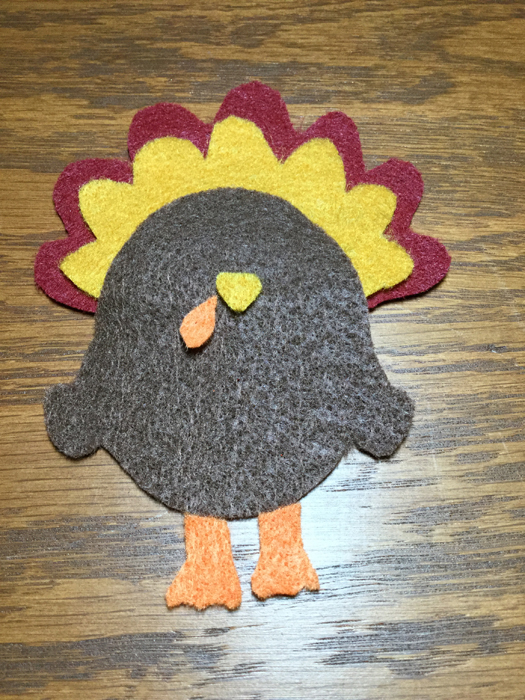 If you’re using felt for your turkey, be sure that you use a pressing cloth while you’re ironing so the felt doesn’t melt.
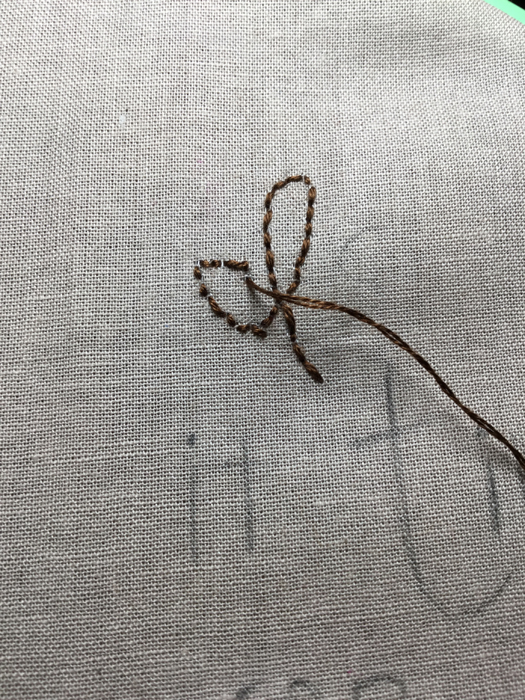
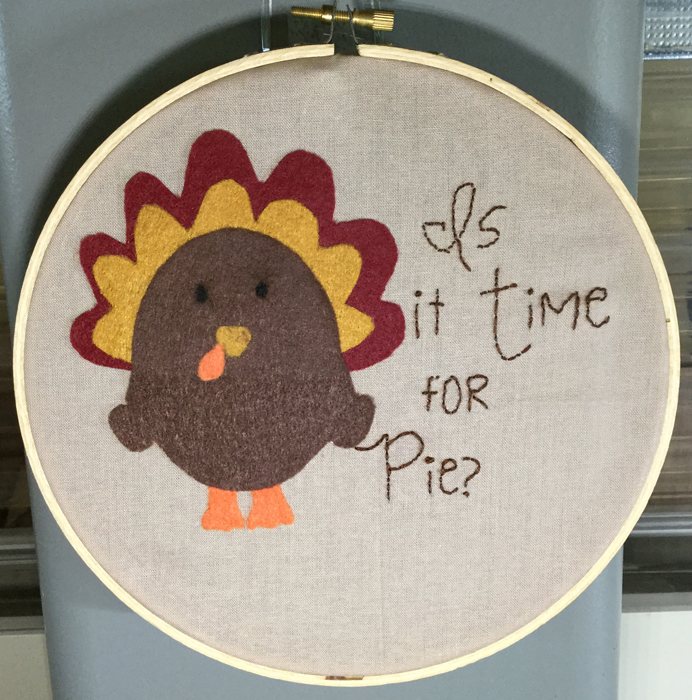
Using 3 strands of your embroidery floss, stich the letters using a backstitch and outline the turkey with a running stitch. This was the first time I have embroidered and found it very easy to do once I got the hang of it. You can see a few gaps in the letter I, but as I went along I began to get a rhythm and my stitches looked more consistent. Beverly has some great tips on her website on how to do different embroidery stitches.
Next put the turkey’s eyes in place. I drew mine in to give him a little more cartoony look but you can either use safety eyes, beads or use a French knot to put the eyes in. If you’re using safety eyes put them in by cutting a small hole in the turkey and through the fabric behind. Push the eye through the hold and put the safety backs in place. If you’re using buttons or beads you can sew them into place.
If you’re dressing your turkey up, make a small bow in the ribbon and glue or sew it place so it looks like a bow tie. Finish off the back of your hoop by following Beverly’s tips on how to finish the back of an embroidery hoop. Hang your new piece of art and enjoy!
Please remember that this pattern is for personal use only and is not to be reproduced for sale or to be used on items that will be sold. Copyright Flamingo Toes Design.
1 Comments
You need to
login to comment.
-
grace andrew
•
6 years 259 days ago
A very thought eye-catching and beautiful display article related to embroidery digitizing . The combination of embroidery and applique is amazing.