We’re in full holiday mode now that Thanksgiving is over -- there’s only 1 week until Hanukkah and 3.5 weeks until Christmas! Don’t worry though. If you’re looking for gifts that have meaning but won’t break the bank or you need a gift for someone who’s hard to shop for, we’re here to help.
For the next three weeks we’ll have do-it-yourself gifts that will cost you less than $25 to make. They’d make great hostess gifts, presents for your favorite teacher or even for that office White Elephant game.
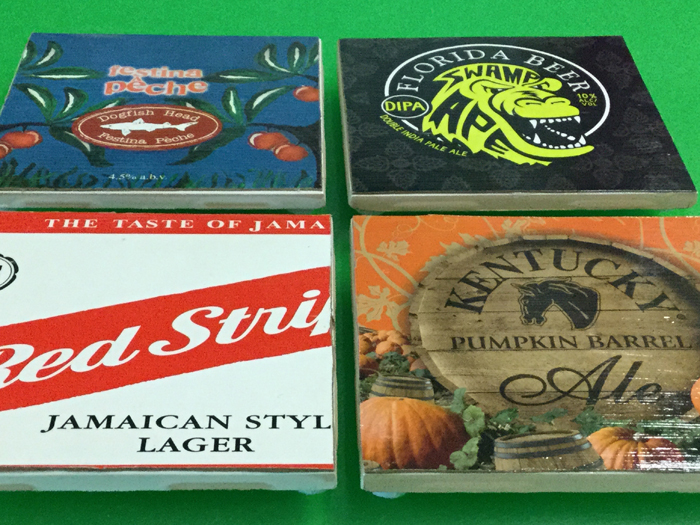
This week we’re showing you how to make Custom Tile Coasters. They can also be made with fabric but if you read our Father’s Day blog then you’ll remember that I enjoy craft beers. So I decided to use the paper holders from those to make this craft.
Materials
Beer holders are available at stores that sell individual beers – ask if they have any extras that they can give to you.
Directions
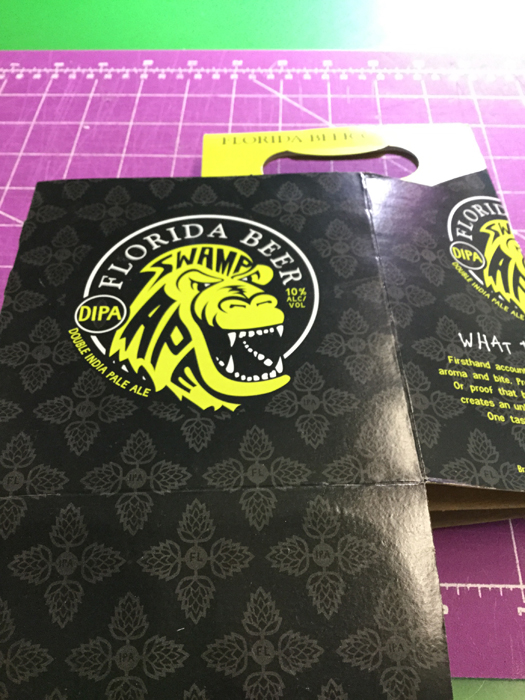
1. Take your beer holders and cut the front of them off. Discard the sides.
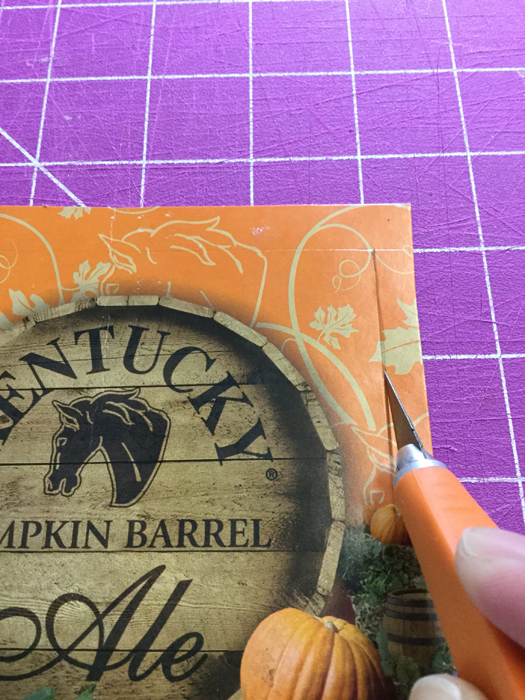
2. Take your tile and place it on top of the cut piece of box. Make sure you place it over the area that you want to appear on your tile. If you’re using a 6-pack or 12-pack holder, you might not be able to get the entire logo or image onto the tile but that’s okay.
3. Trace around the tile with a pencil. Then cut the square out with your craft knife.
4. Apply the Mod Podge glue to the cardboard. Then place it on top of your tile.

5. Hold the cardboard square in place with binder clips so the edges don’t pop up.

6. After 15 minutes apply a coat of Mod Podge on the top of the cardboard (the Mod Podge will appear cloudy at first. but it will dry clear). Let that dry and then apply another coat.

7. Once the second coat has dried, take the tile outside and spray a thin coat of the clear engine paint. The paint, although clear, will stain so put some newspaper or butcher paper underneath. Let the first coat of engine paint dry and then spray another thin coat on top. Let that dry completely.

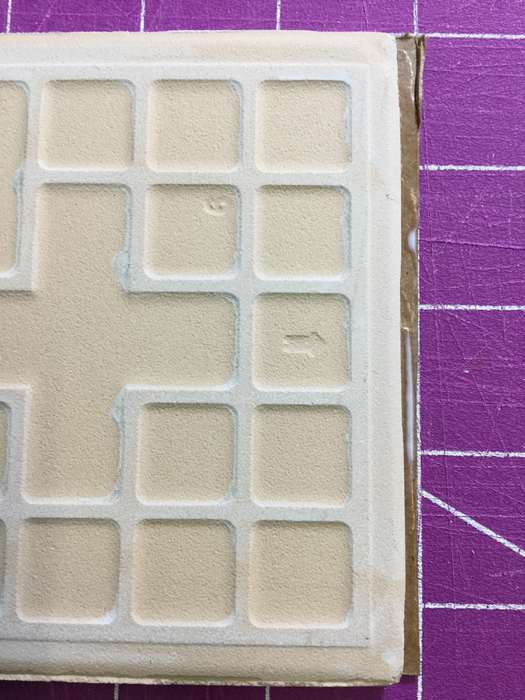
8. Once the paint has dried, turn the tile over – you’ll notice a little bit of the cardboard sticking over the edge. Use your craft knife to cut the edge off.
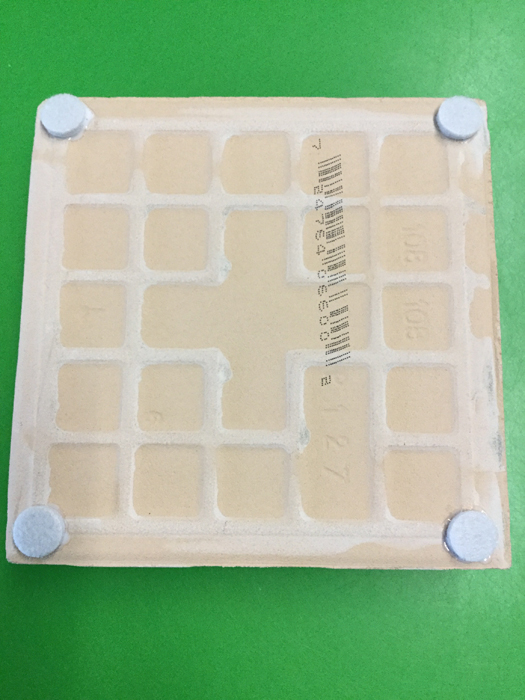
9. Apply the surface protectors to each corner of the tile.
10. Wrap with ribbon or raffia in sets of 2 or sets of 4 and give as a gift.
Note: If you want to try this with fabric, the steps are generally the same. You'll need a darker colored fabric so the white tile doesn't show through. And remember that fabric stretches so you'll need to account for that when measuring.
You need to
login to comment.