Do you love carved pumpkins but either don’t want to deal with the mess of a real pumpkin or (like me) live in a hot climate where if you did carve a pumpkin it wouldn’t last more than 6 days? Well you can still enjoy pumpkin carving and decoration – with a craft pumpkin! Craft pumpkins come in a variety of sizes and colors which gives you many options. We carved and drew on our craft pumpkins and here's how we did it:
Materials
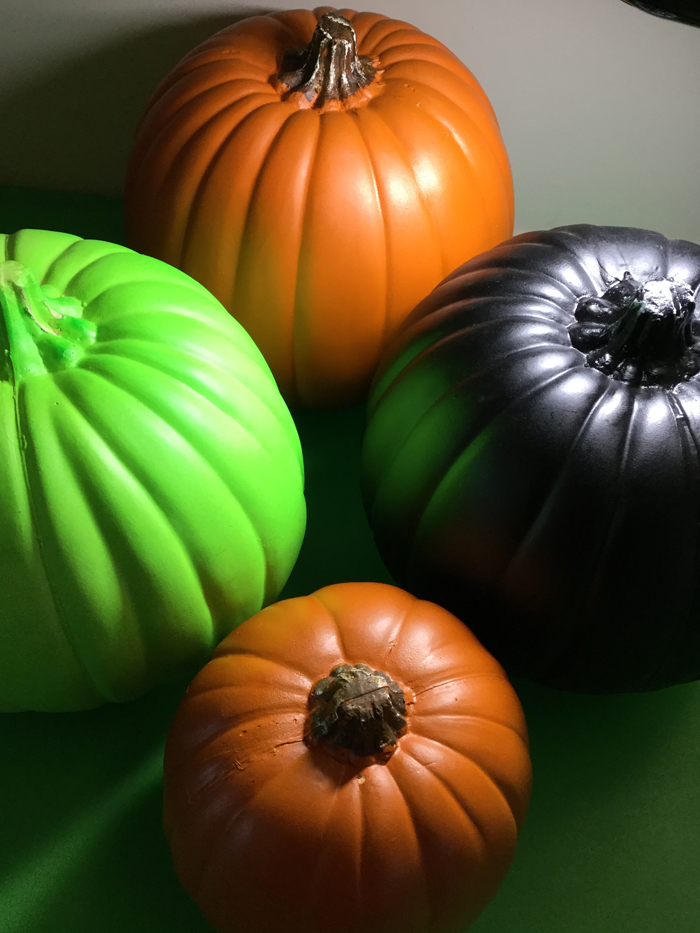
· Craft Pumpkin(s) (Michaels has a great selection)
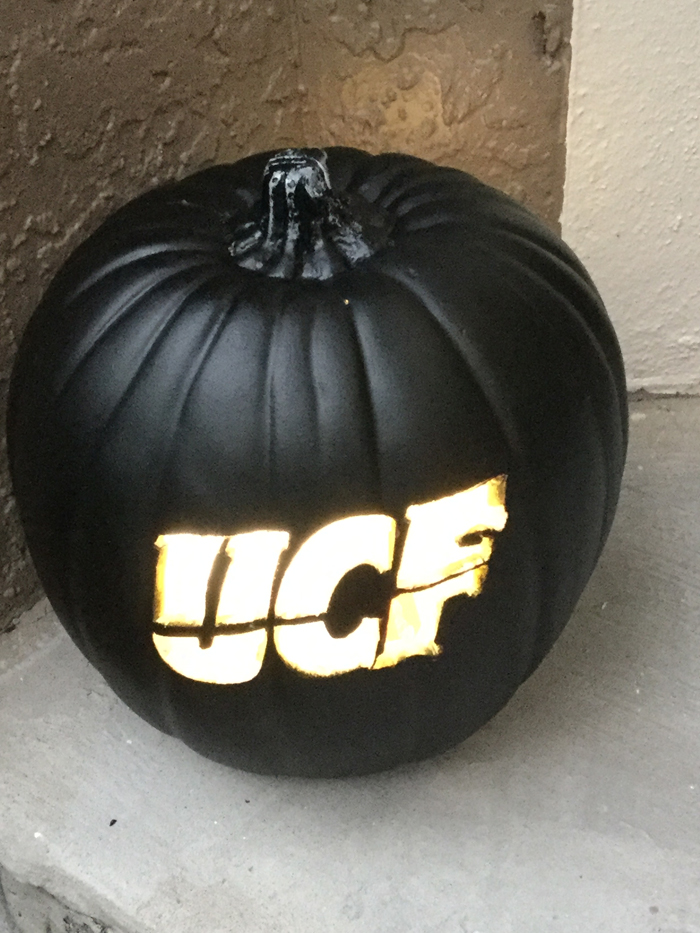
· Pumpkin Carving Templates - You can find free templates online by searching ‘Pumpkin Carving Templates’. I found a Curious George one that PBS has on their site. Also you can select your favorite sports team or brand logo and print that out for a template.
· Thumb tack or sharp nail
· Paint or a Sharpie (only needed if you're decorating a pumpkin)
· Hot Knife (only needed if you're carving a pumpkin)
· Xacto Knife
· OttLite lamps (including a LED Mini Flip)
Carving
Take your carving template and place it on the craft pumpkin where you’d like it. Tape the template in place.

Take your thumb tack and start pressing it around the edges of the black lines on the template. Be sure you’re pushing firmly so that you can see the imprint in the pumpkin. Continue until you’ve put holes all the way around the template.

Remove the template and you’ll have an imprinted image of your template on the carving pumpkin.

Turn the pumpkin upside down and, with the hot knife, cut a circle out of the bottom. Be careful as the knife gets very hot. This is where you will eventually place your light to illuminate the pumpkin.

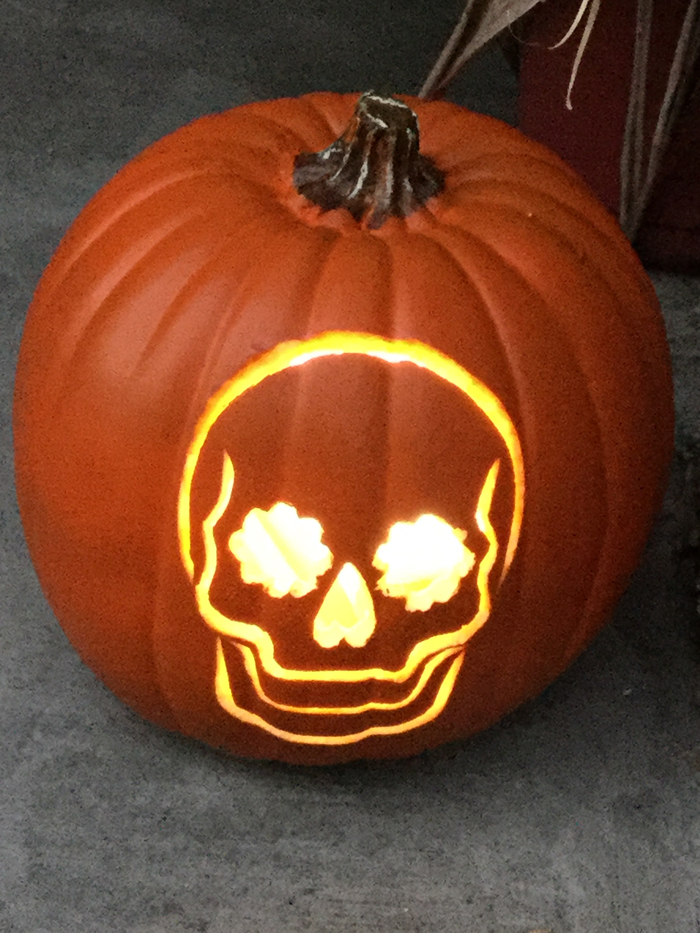
Next take the hot knife and start carving the pumpkin by connecting dots on the pumpkin. Don’t move the knife around too much. The hot knife cuts through the foam of the pumpkin well. You might need to go through the lines a few times to cut all the way through.
I found that it’s best to start cutting out the smaller pieces of the image and save the larger images for the end. That’s because you have to push on the pumpkin as you go and doing smaller parts first makes it less risky that you’ll push the face of the pumpkin in and break it.

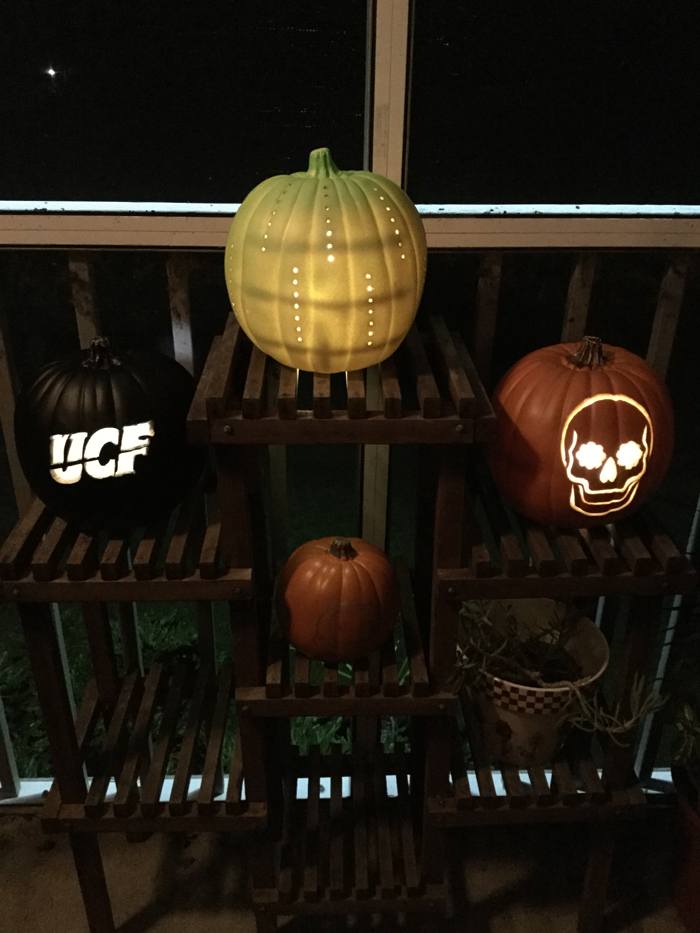
After you’re finished cutting and connecting the dots, take your OttLite LED Mini Flip, open it and place it inside the pumpkin. The LED Mini Flip is rated to last up to 40,000 hours so you’ll have plenty of light to light your pumpkin through Halloween!*
*As a safety precaution, be sure to close and turn off the Mini Flip at night when you go to bed.
Decorating
I got a little craft pumpkin as well and didn’t feel like cutting it. So I decided to trace a picture onto it and then decorate it. This is perfect if you have little ones you don't want the hot knife around or you don't feel like carving.
Take your template and cut out all of the black parts so you have a stencil.
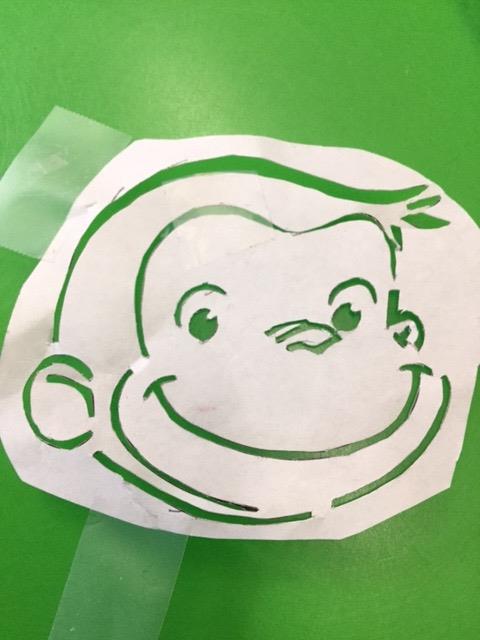
Tape the stencil to your pumpkin and trace inside the lines you’ve cut out. Remove the stencil. Take a Sharpie pen or paints and then paint inside the pencil lines. I used a silver Sharpie but next time I would use glow-in-the-dark paint pen so it could be seen at night.

1 Comments
You need to
login to comment.
-
Anne
•
7 years 164 days ago
Go Knights!